New to the world of baking? These 11 baking tips for beginners will be helpful for every beginner in the baking journey.
I am scared to bake because it was a mess the last time I baked! How many times have you said that and avoided baking? That’s alright. If you are scared of baking or love baking but don’t get that perfect baked good, this blog post is for you.
Don’t miss out on Tip Number 7, a real game-changer. These tips are for beginners in the world of baking.
There are links on this site that can be defined as affiliate links. As an Amazon Associate, I earn from qualifying purchases.
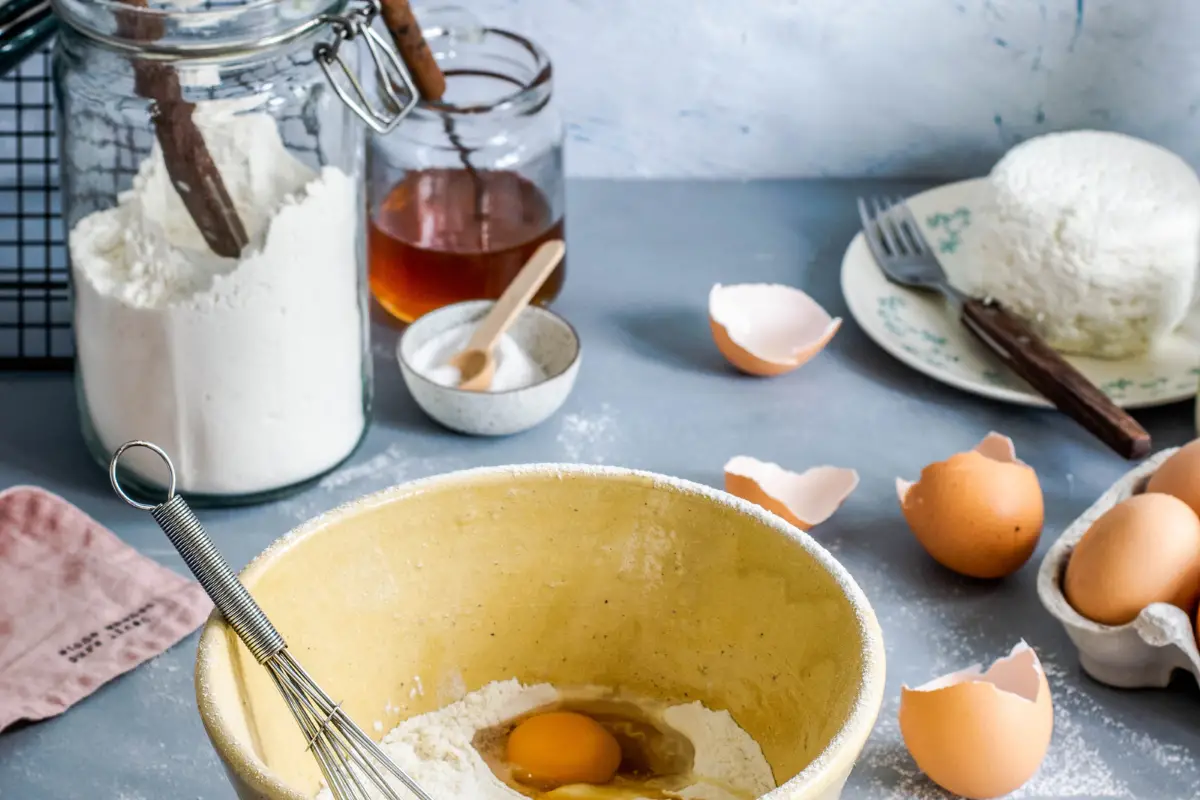
Baking Tips for Beginners
Tip Number 1 – Use ingredients at the right temperature

Not using ingredients at the right temperature. Sounds confusing? Let me explain😊
If you want to make iced coffee, you use ice, not water, right? It makes no sense to use water, although they are the same, but at different temperatures. Similarly, it is important to use ingredients at the right temperature. If the recipe calls for softened butter, make sure to use that and not hard butter.
Another example could be in making short-crust dough. The butter and water need to be cold, not to heat the dough. Let me explain with another example: if you are making a pound cake, and your butter is not soft but melted, you will end up with a dense pound cake instead of a light one.
For a pound cake recipe, check this out.
Tip Number 2 – Grease cake tins and bread molds generously
I cannot stress over this enough. This one is one of the most important baking tips for beginners.
Imagine making your cake batter or your bread, only to see a part of it sticking to the cake tin or bread tin when taken out of the mold.
That is why I am stressing over this point. The best way is to grease using butter or vegetable fat. Be generous with the amount of butter. Try using butter when it is cold, as it is easier to grease. In the case of cakes, you can dust some flour on top of the butter and dust off the excess.
Tip Number 3 – Use silicon mats
Silicon mats are such a blessing. Just use them over your baking tray to bake whatever you want. It is a little expensive, but it is a good investment. Easy to clean, baked products don’t stick to the mat, providing an excellent clean finish to the baked goods.
Buy one over here. The one that I recommended is a macaron silicon mat. You can use this same mat for your macarons and any and everything you want to bake on it.
Tip Number 4 – Use a medium rack for baking
Usually, when using convection ovens, one of the most common questions that pops into your mind is which rack to use.
However, different baked items require different racks in the oven and a different treatment. As a beginner, I recommend using the medium rack for a foolproof result. It gets even heat from all sides, and the risk of burning your baked goods is also low.
Usually, all ovens come with either racks or rings for you to place your dishes on in the oven.
Tip Number 5 – Always pre-heat your oven
The always is what you should remember from the last line. “Always” preheat your oven.
Why? Your oven has just been switched on, and it can’t possibly be at the temperature you need to bake. Pre-heating ensures that when you put anything in the oven, the oven is at the required temperature.
Pre-heating is a must, and here’s why-
-Make sure your dish bakes at the right temperature evenly throughout the baking time
-Some baking products rise initially, which will not happen if the temperature is too low. For example- sponges and breads.
-Every baked item has a minimum temperature to start the baking process, and pre-heating ensures your dish is baking right from the start instead of just sitting in the oven.
I suggest pre-heating it after you are done measuring all your ingredients. This gives enough time for the oven to preheat while making your dough or batter.
Tip Number 6 – Use a weighing scale to measure ingredients
I feel the first investment as a baker should be on a weighing scale. I have been using this one for five years and do a good deal of baking, so it is pretty durable. The best thing is this is not even an expensive investment; the one I used was quite reasonable.
It is essential because:
– Ingredients have different volumes and masses. For example, cocoa powder is lighter than flour, so that the amount would differ.
– A tiny bit of miscalculation in your ingredients may ruin your product. For example, adding more water than required in your bread dough may ruin your bread texture.
– When you are following a recipe, it is crucial for you to weigh your ingredients to get the same results.
If you are still comfortable using cups, here is a handy guide I have created for you.
Tip Number 7 – Use a micro scale for weighing light weight ingredients
This is the tip that will instantly make all your problems go away. You see those baking measurements that say 1/8th teaspoon, 4 grams, and you think, how will I ever measure these ingredients.?
Do you end up eye-balling and adding your measurements?
Do you get annoyed measuring cocoa powder, baking soda, baking powder, and yeast because the measurements won’t appear on your weighing scale?
Well, I understand your pain. Check out this micro-scale that is perfect for weighing and measuring these ingredients for your recipes. It can show measurements from 0.1 grams, which is quite helpful.
Tip Number 8 – Use a deep dish to make a water bath
When a recipe calls for a water bath, you place your baking dish in another tray or dish. You then fill the other dish with water so that enough steam is produced during baking and the baked dish doesn’t directly come in contact with the oven.
However, do not take a flat baking tray or baking dish when using the other dish. In this case, the baking dish is anyway exposed to oven heat. Use a deep dish or tray and fill it with water.
Different ovens have different capacities, so buy one that fits your requirements. If you still need help, DM on Instagram or comment here.
Tips Number 9 – Use parchment paper for the best results
This is not a baking tip for a beginner but for every baker out there. I realized this recently after using parchment paper. It is the best way to line your cake tins and baking trays. It is highly reliable and is perfect for baking. It may seem expensive compared to butter or baking paper; however, parchment paper can be used repeatedly for several purposes.
Check out good quality parchment paper over here.
Tip Number 10 – Read recipe instructions carefully and follow it.
Recipe instructions are given after several trials and errors. Make sure you are following instructions to get the same results. Baking involves many ingredients, and you may not have some.
Only substitute with understanding the role of each ingredient. Substituting ingredients comes with experience, and I recommend not doing it. Follow the recipe the way it tells you to and in the order it tells you to do.
Tip Number 11 – Baking tips for beginners- Keep everything ready!
Keeping everything ready means preheating your ovens, getting all the ingredients in one place, and greasing/lining your molds or tins. This way, you get all the steps and ingredients. In French, it is called “mise-en-place, ” meaning “keeping everything ready.”
Have you downloaded the baking conversion guide yet? If not, click on the button to download it for free.
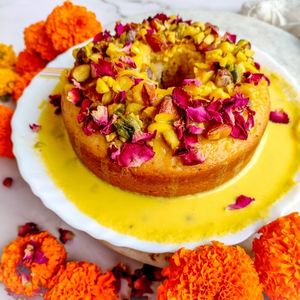
Here are some easy recipes perfect for beginners in baking:
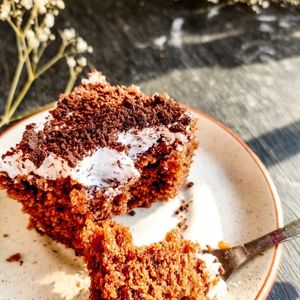

Tres Leche Cake/ Rasmalai Cake
Hope you found this post – “baking tips for beginners” useful. as a beginner baker.
Don’t forget to subscribe to get new recipes every week!
Follow me on social media for baking tips, food styling and dessert recipe.
Thank You
Use the hashtag #alishasdessertsafari on Instagram or drop in a DM it to me over here : Click here for my Instagram account or you can even tag @alishasdessertsafari in your stories. You have no idea how happy that would make me to see you try out my recipes. Happy baking!


IT’s a good resource!..Thanks for sharing.