Welcome back to your favorite desserts and baking blog:)
7 signs your bread dough is kneaded enough explains the signs you need to look for while kneading the bread dough.
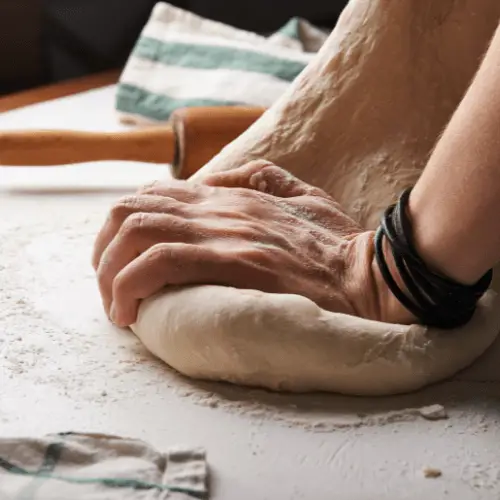
When kneading by hand, you may end up under-kneading the bread dough and when using a machine, chances are there that you overknead the dough.
I will also share a hack by which you can give your hands some breaks while kneading the dough, so make sure you read it till the end.
How to know when bread dough is kneaded enough?
Windowpane test
This is the best way to check if a dough has been kneaded well enough. Scrape your hands clean using a bread scraper. Now take out a small piece of dough and roll it into a ball. Using your finger, start stretching the dough from all sides. The dough should stretch enough to be able to create a translucent film similar to a windowpane. If the dough tears in between before reaching that translucent stage, it needs more kneading. If it reaches the translucent stage, your dough has been kneaded well enough.
Poke the dough
Another way could be to poke the dough. If it bounces back, it requires no further kneading. If the dent remains there, continue kneading.
Check the dough feel
The dough should feel soft and smooth if it has been kneaded well. Good kneading ensures all the tiny particles are mixed in well enough. A rough dough usually indicates it requires more kneading.
Check if it is sticky
If the dough is sticking to the surface or to the machine bowl, it requires more kneading. The dough should start leaving the surface if it has been kneaded well enough.
Exceptions
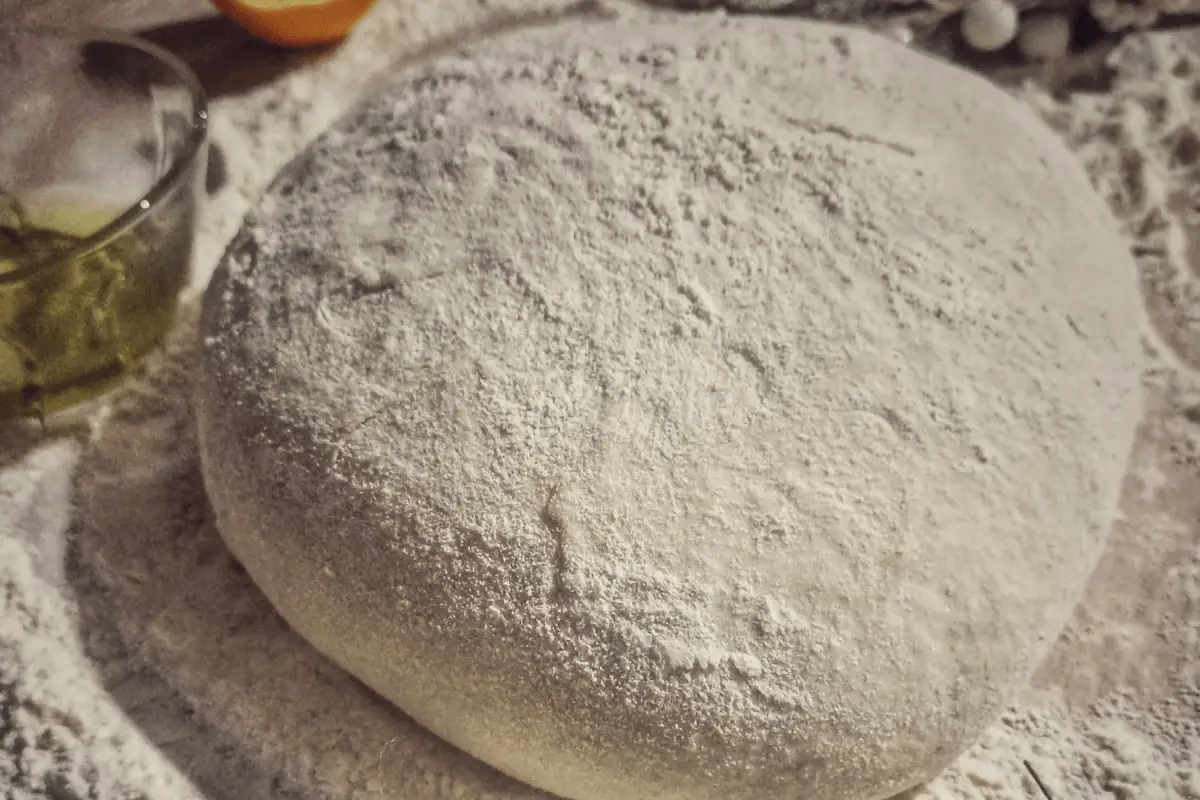
High-hydration doughs or doughs that have a high amount of water content would not follow any of the signs. It will still have a droopy loose texture and will not be able to hold its shape. That is because the starch and gluten in the flour require some time to absorb such large quantities of water.
How to ensure you don’t tire yourself while kneading the dough
A simple trick is to let it rest. The moment you let the dough rest for around 10-15 minutes, the gluten relaxes and the starch gets time to absorb more water, thus creating a dough that is easy to work with.
You can also go for the autolyse method. In this method, I combine the flour and water and let it rest for 15-30 minutes. This makes the kneading process easier for me. Check out this blog post in which I explain further it in detail.
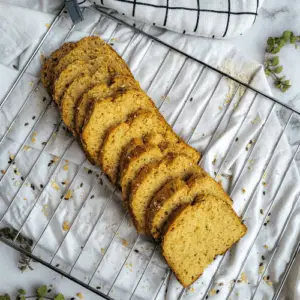
Try out these recipe from my blog:
[CLICK ON THE IMAGE FOR THE RECIPE]

FOUND IT HELPFUL?
Tag @alishasdessertsafari on Instagram and hashtag it #alishasdessertsafari
Don’t forget to Subscribe to get one value packed email every month (no spam)!
I hope you found my post “7 signs your bread dough is kneaded enough” helpful. If you have any queries, feel free to post them in the comments below.
Thank You.
Image credits:Photo by Nadya Spetnitskaya on Unsplash






4 thoughts on “7 signs your bread dough is kneaded enough”